How to Attach PVC Skirting Board?
Attaching PVC skirting board correctly involves more than placing a profile against the wall. The fixing method must suit the wall structure, cover the floor gap, preserve floor movement, and create a clean finish around corners, doors, cabinets, and other fixed features.
The best installation method depends on the wall substrate, flooring type, wall-to-floor gap, profile design, cable requirements, and whether the skirting board may need to be removed later. Proper preparation can help prevent loose profiles, visible gaps, uneven lines, and damage to the floor.
Check the Wall and Floor Before Installation
Inspect the full installation area before work begins, including the wall surface, flooring type, wall-to-floor gap, door frames, cabinets, corners, and cable routes.
Plastic skirting boards should generally be fixed to the wall rather than directly to the floor. This is especially important for laminate, SPC, and other floating floors, which need room to expand and contract. The skirting board should cover the expansion gap while allowing the floor to move freely underneath.
The wall condition determines the fixing method. Stable, clean walls may suit structural adhesive; masonry may require plugs and screws; and drywall may need fixing into studs or reinforced sections.
Before installation, confirm:
The wall substrate and surface strength
The type of flooring and its movement requirements
The wall-to-floor gap
Door-frame and cabinet positions
Corner and joint locations
Possible cable routes
Whether the profile may need to be removed later
This assessment helps you select the correct profile and attachment method before cutting the material.
Select the Appropriate Attachment Method
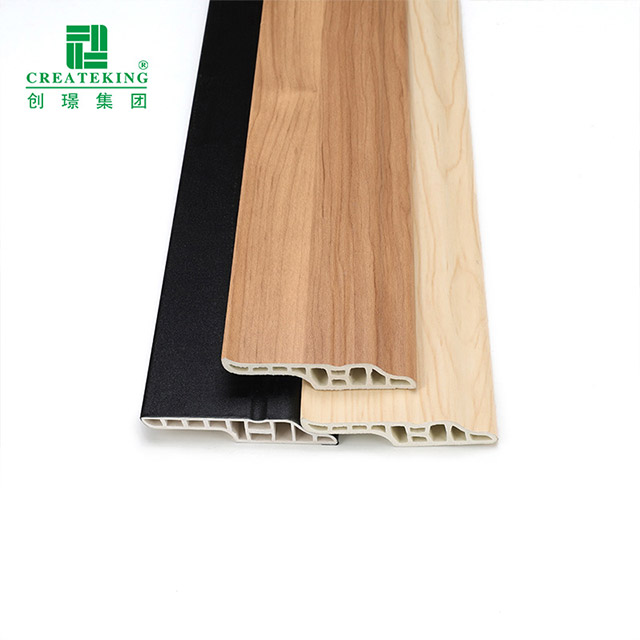
Createking provides several PVC skirting board systems, including direct fixing, concealed fixing, clip-on, and engineering profiles. The PVC skirting board range can be reviewed according to the wall condition, appearance requirements, and future maintenance needs.
Fixing Method | Suitable When | Main Control Point |
Structural adhesive | The wall is clean, dry, and reasonably even | Use adhesive compatible with PVC |
Nails or screws | The wall has reliable fixing support | Select suitable fasteners |
Concealed base | Fewer visible fixing marks are required | Install the base accurately |
Clip-on system | Future removal or access may be needed | Keep the base straight and accessible |
The fixing method should be selected before ordering and cutting the profiles. Changing the installation system after cutting may lead to incorrect lengths, visible gaps, or unsuitable fixing positions.
Prepare the Wall and Profile
For adhesive installation, remove dust, loose paint, oil, wallpaper residue, and other contaminants. The wall must be stable, as adhesive applied over peeling paint or weak coatings may fail.
Glossy surfaces may need additional preparation to improve adhesion. If the existing paint is loose, applying adhesive over it will not provide a reliable bond.
For nail or screw fixing, identify the wall structure before drilling. Use suitable plugs and screws for masonry, and fix into studs, reinforced sections, or appropriate drywall fasteners where required.
Clean the rear of the PVC skirting board before installation. Dust or debris can prevent flat contact and create uneven pressure along the wall.
Establish the Finished Line
Before attaching the first piece, establish the final position of the skirting board. The lower edge should cover the floor gap without pressing tightly against a floating floor. The upper edge should follow a consistent horizontal line along the wall.
Use the longest wall as a reference where possible. Mark the intended height at several points rather than relying on one measurement at the end of the wall. On uneven walls or floors, this step is especially important.
Check the reference line against door frames, cabinet sides, wall panels, stairs, radiators, electrical outlets, and existing cable routes. A skirting board may be firmly attached and still look incorrect if its finished height changes from one section to another.
Dry-Fit the Profiles Before Fixing
Place the cut profiles in position without adhesive or permanent fasteners. Check that they cover the floor gap, follow the reference line, fit around corners, and do not interfere with doors, cabinets, or furniture.
Measure each wall separately and mark the position on the rear of each piece. Dry-fitting also helps identify suitable joint locations; keep visible joints away from prominent areas whenever possible.
Attach PVC Skirting Board with Structural Adhesive
Apply a PVC-compatible structural adhesive evenly to the rear of the profile. Avoid excessive adhesive near the top edge, as it may squeeze onto the wall and affect alignment.
Position the profile along the reference line and press it firmly along its length. Use temporary support for long sections if necessary, and allow the adhesive to cure according to the manufacturer’s instructions.
Do not use adhesive to compensate for major wall defects. Repair severely uneven surfaces or select a more suitable fixing system.
Attach PVC Skirting Board with Nails or Screws
Use fasteners suitable for the wall material. Masonry may require plugs and screws, while drywall should be fixed into studs, reinforced sections, or approved anchors.
Keep fixing points evenly spaced and away from corners and profile ends to prevent cracking or distortion. Do not overdrive fasteners, as excessive force may deform the PVC or damage its decorative surface.
Check the alignment after each fixing point and confirm that any cover strip closes properly.
Use Clip-On and Concealed Fixing Systems Correctly
Clip-on and concealed systems use a base fixed to the wall before the visible profile is attached. The base must be straight, secure, and accurately positioned because the outer profile will follow its line.
These systems are useful where a clean finish, future flooring access, or cable maintenance is required. Before closing the profile, confirm that the base is stable and all cable routes remain accessible.
Finish Corners, Joints, and Cable Routes
Corners should be checked before final attachment. Depending on the profile design, internal and external corners may be completed with mitre cuts, corner accessories, or dedicated connection pieces.
The sections should meet without excessive force. If a corner requires strong pressure to close, recheck the cutting angle and the position of the profiles. For irregular walls, standard 90-degree cuts may not provide a clean result.
Place joints in less visible areas whenever possible. On wood-grain, marble, leather, or fabric-style profiles, keep the surface pattern direction consistent.
Some PVC skirting boards include rear space for wires and cables. Arrange the cable route before closing the profile. The cable should not push the skirting board away from the wall or prevent the floor gap from being covered correctly.
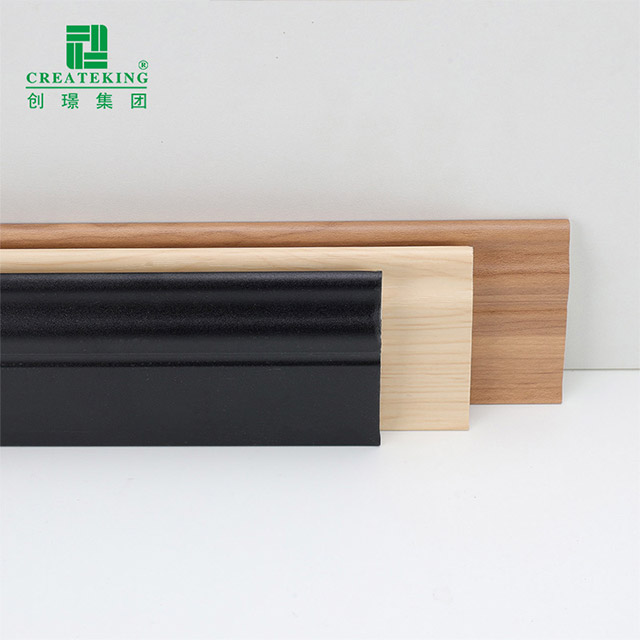
Product Example: SDF70 PVC Skirting Board
Createking’s SDF70 PVC Multi-Cavity Hollow Skirting Board measures 70 mm high and 16 mm wide. It is available in 2200 mm, 2400 mm, or customized lengths and is suitable for wall-to-floor gaps of approximately 1–16 mm.
The multi-cavity hollow structure provides space for suitable low-level cable management while helping reduce the weight of the profile. The product supports structural adhesive or nail fixing, allowing the installation method to be selected according to the wall condition.
Before installation, compare the product dimensions with the actual floor thickness, wall-to-floor gap, corners, door frames, cabinet positions, and cable routes. For detailed specifications, see the 70 × 16 mm PVC Multi-Cavity Hollow Skirting Board.
Check the Finished Attachment
After the profile has been attached, inspect the wall line and floor edge from several positions in the room.
Confirm that:
The top edge remains straight
The profile covers the floor gap
The skirting board is fixed to the wall
Floating-floor movement has not been restricted
Corners are closed and stable
Joints are tight and controlled
Adhesive has not spread onto visible surfaces
Fasteners have not damaged the profile
Cable space remains usable where required
Door and cabinet end points are neatly finished
If the skirting board begins to loosen, do not simply add adhesive to the visible edge. Remove the affected section where possible, inspect and clean both surfaces, correct the underlying problem, and reinstall it using a suitable fixing method.
Common Attachment Problems
A PVC skirting board may loosen because the wall was dusty, damp, weak, or covered with poorly bonded paint. Uneven adhesive coverage, an uneven wall, or an incorrectly installed clip-on base may also cause movement.
Visible gaps may result from inaccurate measurements, an insufficient profile width, uneven flooring, or incorrect corner cuts. Wavy lines are often caused by an uneven reference line or poor alignment of the base.
Correcting the cause is more reliable than covering the visible problem with additional adhesive or filler.
Conclusion
The best way to attach PVC skirting board is to match the fixing method to the wall, floor, profile, and future use of the room.
Structural adhesive works well on clean and stable surfaces. Nails and screws provide mechanical support where the wall structure allows them. Concealed and clip-on systems can improve appearance and make future removal or cable access easier.
A successful installation should create a straight visual line, cover the required floor gap, preserve floating-floor movement, protect the wall, and provide a clean finish around corners, joints, doors, and cabinets.